

How it works. 3D Games. A bit about shaders and how the graphics pipeline works in games. An introduction for those who want to understand rendering.
Unity Rendering and Shaders Deep Overview [Middle]


Table of contents
- How does rendering work in Unity?
- Application functions
- Geometry processing
- Rasterization and work with pixels
- Forward and Deferred
- Matrices in Unity
- Properties of polygonal objects
- More about the Vertexes
- Objects Normals
- Tangents
- UV coordinates
- Vertex colors
- So what is a shader in Unity?
- A little introduction in the shader language
- Basic shader types in Unity
- Shader structure
- Working with ShaderLab
- Blending
- Z-Buffer and depth test
- Culling
- Using Cg / HLSL
- Shader Graph
- Let's summarize
Hello everyone. Today I would like to touch upon such a topic as rendering and shaders in Unity. Shaders - in simple words, they are instructions for our video cards that tell us how to render and transform objects in the game. So, welcome to the club buddy.
(Watch out! Next up is a long article!)
How does rendering work in Unity?
In the current version of Unity we have three different rendering pipelines - Built-in, HDRP and URP. Before dealing with the renderers, we need to understand the very concept of the rendering pipelines that Unity offers us.
Each of the rendering pipelines performs a number of steps that perform a more significant operation and form a complete rendering process out of that. And when we load a model (for example, .fbx) onto the stage, before it reaches our monitors, it goes a long way.
Each render pipeline has its own properties that we will work with: material properties, light sources, textures and all the functions that happen inside the shader will affect the appearance and optimization of objects on the screen.
So, how does this process happen? For that, we need to talk about the basic architecture of rendering pipelines. Unity divides everything into four stages: application functions, working with geometry, rasterization and pixel processing.
Note that this is just a basic real-time rendering model, and each of the steps is divided into streams, which we'll talk about next.
Application functions
The first thing we have going on is the processing stages of the application (application functions), which starts on the CPU and takes place within our scene.
This can include:
Physics processing and collision miscalculation;
Texture animations;
Keyboard and mouse input;
Our scripts;
This is where our application reads the data stored in memory to further generate our primitives (triangles, vertices, etc.), and at the end of the application stage, all of this is sent to the geometry processing stage to work on vertex transformations using matrix transformations.
Geometry processing
When the computer requests, via the CPU, from our GPU the images we see on the screen, this is done in two stages:
When the render state is set up and the steps from geometry processing to pixel processing have been passed;
When the object is rendered on the screen;
The geometry processing phase takes place on the GPU and is responsible for processing the vertices of our object. This phase is divided into four sub-processes namely vertex shading, projection, clipping and display on screen.
When our primitives have been successfully loaded and assembled in the first application stage, they are sent to the vertex shading stage, which has two tasks:
Calculate the position of vertices in the object;
Convert the position to other spatial coordinates (from local to world coordinates, as an example) so that they can be drawn on the screen;
Also during this step we can additionally select properties that will be needed for the next steps of drawing the graphics. This includes normals, tangents, as well as UV coordinates and other parameters.
Projection and clipping work as additional steps and depend on the camera settings in our scene. Note that the entire rendering process is done relative to the Camera Frustum (field of view).
Projection will be responsible for perspective or orthographic mapping, while clipping allows us to trim excess geometry outside the field of view.
Rasterization and work with pixels
The next stage of rendering work is rasterization. It consists in finding pixels in our projection that correspond to our 2D coordinates on the screen. The process of finding all pixels that are occupied by the screen object is called rasterization. This process can be thought of as a synchronization step between the objects in our scene and the pixels on the screen.
The following steps are performed for each object on the screen:
Triangle Setup - responsible for generating data on our objects and transmitting for traversal;
Triangle traversal - enumerates all pixels that are part of the polygon group. In this case, this group of pixels is called a fragment;
The last step follows, when we have collected all the data and are ready to display the pixels on the screen. At this point, the fragment shader (also known as pixel shader) is launched, which is responsible for the visibility of each pixel. It is basically responsible for the color of each pixel to be rendered on the screen.
Forward and Deferred
As we already know, Unity has three types of rendering pipelines: Built-In, URP and HDRP. On one side we have Built-In (the oldest rendering type that meets all Unity criteria), and on the other side we have the more modern, optimized and flexible HDRP and URP (called Scriptable RP).

Each of the rendering pipelines has its own paths for graphics processing, which correspond to the set of operations required to go from loading the geometry to rendering it on the screen. This allows us to graphically process an illuminated scene (e.g., a scene with directional light and landscape).
Examples of rendering paths include forward rendering (forward path), deferred shading (deferred path), and legacy (legacy deferred and legacy vertex lit). Each supports certain features, limitations, and has its own performance.
In Unity, the forward path is the default for rendering. This is because it is supported by the largest number of video chips, but has its own limitations on lighting and other features.
Note that URP only supports forward path rendering, while HDRP has more choice and can combine both forward and deferred rendering paths.
To better understand this concept, we should consider an example where we have an object and a directional light. The way these objects interact determines our rendering path (lighting model).
Also, the outcome of the work will be influenced by:
Material characteristics;
Characteristics of the lighting sources;
The basic lighting model corresponds to the sum of three different properties such as: ambient color, diffuse reflection and specular reflection.
The lighting calculation is done in the shader and can be done per vertex or per fragment. When lighting is calculated per vertex it is called per-vertex lighting and is done in the vertex shader stage, similarly if lighting is calculated per fragment it is called per-fragment or per-pixel shader and is done in the fragment (pixel) shader stage.
Vertex lighting is much faster than pixel lighting, but you need to consider the fact that your models must have a large number of polygons to achieve a beautiful result.
Matrices in Unity
So, let's return to our rendering stages, more precisely to the stage of working with vertices. Matrices are used for their transformation. A matrix is a list of numerical elements that obey certain arithmetic rules and are often used in computer graphics.
In Unity, matrices represent spatial transformations, and among them we can find:
UNITY_MATRIX_MVP;
UNITY_MATRIX_MV;
UNITY_MATRIX_V;
UNITY_MATRIX_P;
UNITY_MATRIX_VP;
UNITY_MATRIX_T_MV;
UNITY_MATRIX_IT_MV;
unity_ObjectToWorld;
unity_WorldToObject;
They all correspond to four-by-four (4x4) matrices, that is, each matrix has four rows and four columns of numeric values. An example of a matrix can be the following variant:
As it was said before - our objects have two nodes (for example, in some graphic editors they are called transform and shape) and both of them are responsible for the position of our vertices in space (object space). The object space in its turn defines the position of the nodes relative to the center of the object.
And every time we change the position, rotation or scale of the vertices of the object - we will multiply each vertex by the model matrix (in the case of Unity - UNITY_MATRIX_M).
To translate coordinates from one space to another and work within it - we will constantly work with different matrices.
Properties of polygonal objects
Continuing the theme of working with polygonal objects, we can say that in the world of 3D graphics, every object consists of a polygonal mesh. The objects in our scene have properties and each of them always contains vertices, tangents, normals, UV coordinates and color - all of which together form a Mesh. This is all managed by subroutines such as shaders.
With shaders we can access and modify each of these parameters. When working with these parameters, we will usually use vectors (float4). Next, let's analyze each of the parameters of our object.
More about the Vertexes
The vertices of an object corresponding to a set of points that define the surface area in 2D or 3D space. In 3D editors, as a rule, vertices are represented as intersection points of the mesh and the object.
Vertexes are characterized, as a rule, by two moments:
They are child components of the transform component;
They have a certain position according to the center of the common object in the local space.
This means that each vertex has its own transform component responsible for its size, rotation and position, as well as attributes that indicate where these vertices are relative to the center of our object.
Objects Normals
Normals inherently help us determine where we have the face of our object slices. A normal corresponds to a perpendicular vector on the surface of a polygon, which is used to determine the direction or orientation of a face or vertex.
Tangents
Turning to the Unity documentation, we get the following description:
A tangent is a unit-length vector following the mesh surface along the horizontal texture direction
In simple terms, tangents follow U coordinates in UV for each geometric figure.
UV coordinates
Probably many guys have looked at the skins in GTA Vice City and maybe, like me, even tried to draw something of their own there. And UV-coordinates are exactly related to this. We can use them to place 2D textures on a 3D object, like clothing designers create cutouts called UV spreads.
These coordinates act as anchor points that control which texels in the texture map correspond to each vertex in the mesh.
The UV coordinate area is equal to the range between 0.0 (float) and 1.0 (float), where "zero" represents the start point and "1" represents the end point.
Vertex colors
In addition to positions, rotation, size, vertices also have their own colors. When we export an object from a 3D program, it assigns a color to the object that needs to be affected, either by lighting or by copying another color.
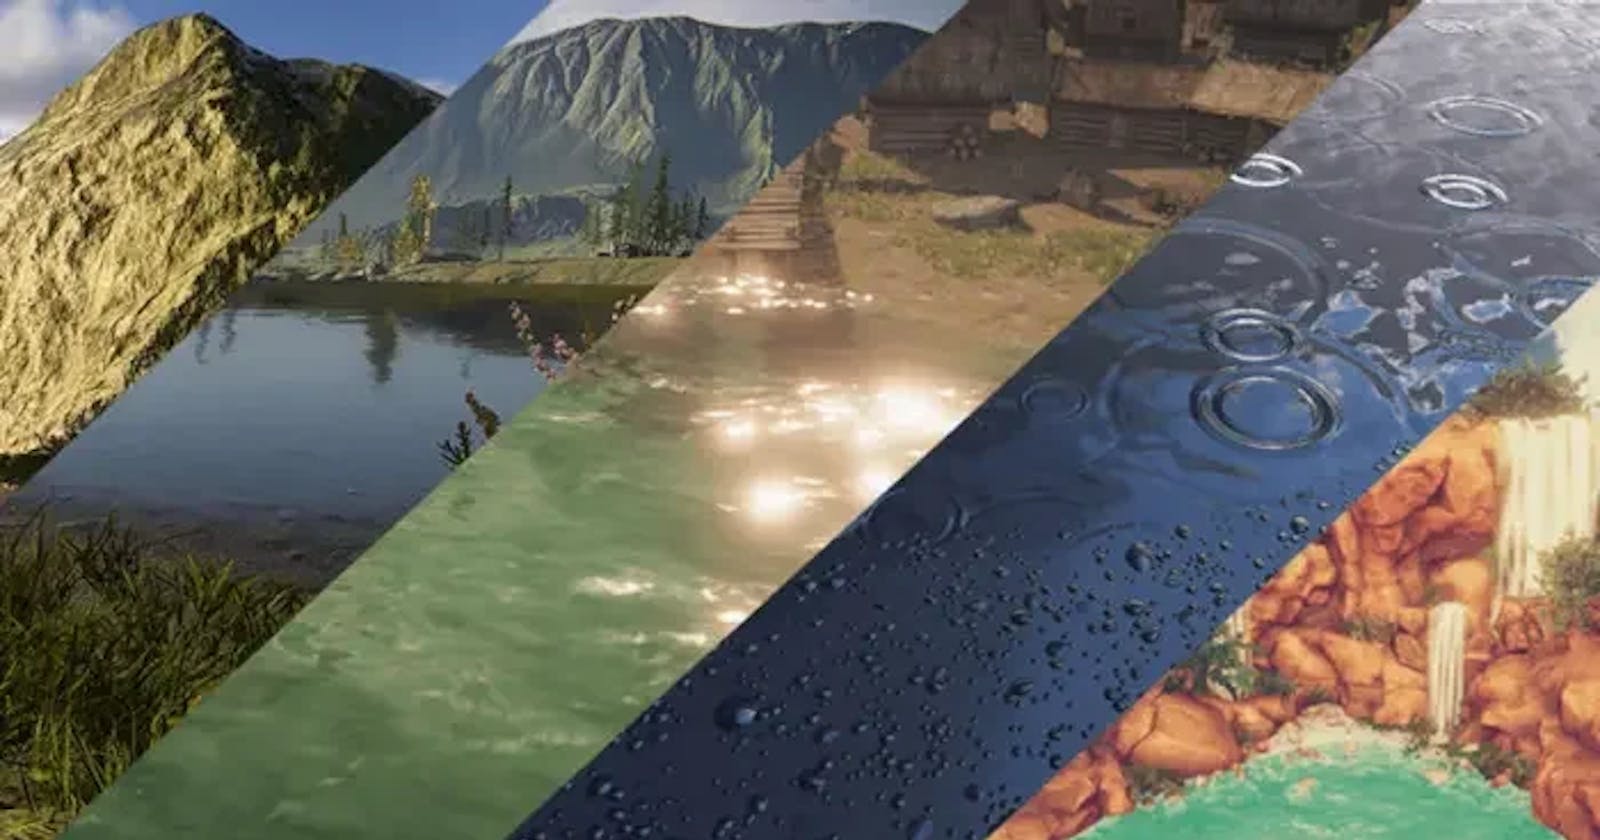
The default vertex color is white (1,1,1,1) and colors are encoded in RGBA. With the help of vertex colors you can, for example, work with texture blending, as shown in the picture above.
So what is a shader in Unity?
So, based on what's been described above, a shader is a small program that can be used to help us to create interesting effects and materials in our projects. It contains mathematical calculations and lists of instructions (commands) with parameters that allow us to process the color for each pixel in the area covering the object on our computer screen, or to work with transformations of the object (for example, to create dynamic grass or water).
This program allows us to draw elements (using coordinate systems) based on the properties of our polygonal object. The shaders are executed on the GPU because it has a parallel architecture consisting of thousands of small, efficient cores designed to handle tasks simultaneously, while the CPU was designed for serialized batch processing.
Note that there are three types of shader-related files in Unity:
First, we have programs with the ".shader" extension that are able to compile into different types of rendering pipelines.
Second, we have programs with the ".shadergraph" extension that can only compile to either URP or HDRP. In addition, we have files with the ".hlsl" extension that allow us to create customized functions; these are typically used in a node type called Custom Function, which is found in the Shader Graph.
There is also another type of shader with the ".cginc" extension, Compute Shader, which is associated with the ".shader" CGPROGRAM, and ".hlsl" is associated with the ".shadergraph" HLSLPROGRAM.
In Unity there are at least four types of structures defined for shader generation, among which we can find a combination of vertex and fragment shader, surface shader for automatic lighting calculation and compute shader for more advanced concepts.
A little introduction in the shader language
Before we start writing shaders in general, we should take into account that there are three shader programming languages in Unity:
HLSL (High-Level Shader Language - Microsoft);
Cg (C for Graphics - NVIDIA) - an obsolete format;
ShaderLab - a declarative language - Unity;
We're going to quickly run through Cg, ShaderLab, and touch on HLSL a bit. So...
Cg is a high-level programming language designed to compile on most GPUs. It was developed by NVIDIA in collaboration with Microsoft and uses a syntax very similar to HLSL. The reason shaders work with the Cg language is that they can compile with both HLSL and GLSL (OpenGL Shading Language), speeding up and optimizing the process of creating material for video games.
All shaders in Unity (except Shader Graph and Compute) are written in a declarative language called ShaderLab. The syntax of this language allows us to display the properties of the shader in the Unity inspector. This is very interesting because we can manipulate the values of variables and vectors in real time, customizing our shader to get the desired result.
In ShaderLab we can manually define several properties and commands, among them the Fallback block, which is compatible with the different types of rendering pipelines that exist in Unity.
Fallback is a fundamental block of code in multiplatform games. It allows us to compile another shader in place of the one that generated the error. If the shader breaks during compilation.
Fallback returns the other shader and the graphics hardware can continue its work. This is necessary so that we don't have to write different shaders for XBox and PlayStation, but use unified shaders.
Basic shader types in Unity
The basic shader types in Unity allow us to create subroutines to be used for different purposes.
Let's break down what each type is responsible for:
Standart Surface Shader - This type of shader is characterized by the optimization of writing code that interacts with the base lighting model and only works with Built-In RP.
Unlit Shader - Refers to the primary color model and will be the base structure we typically use to create our effects.
Image Effect Shader - Structurally it is very similar to the Unlit shader. These shaders are mainly used in Built-In RP post-processing effects and require the "OnRenderImage()" function (C#).
Compute Shader - This type is characterized by the fact that it is executed on the video card and is structurally very different from the previously mentioned shaders.
RayTracing Shader - An experimental type of shader that allows to collect and process ray tracing in real time, works only with HDRP and DXR.
Blank Shader Graph - An empty graph-based shader that you can work with without knowledge of shader languages, instead using nodes.
Sub Graph - A sub shader that can be used in other Shader Graph shaders.
Shader structure
To analyze the structure of shaders, it is enough to create a simple shader based on Unlit and analyze it.
When we create a shader for the first time, Unity adds default code to ease the compilation process. In the shader, we can find blocks of code structured so that the GPU can interpret them.
If we open our shader, its structure looks similar:
Shader "Unlit/OurSampleShaderUnlit"
{
    Properties
    {
        _MainTex ("Texture", 2D) = "white" {}
    }
    SubShader
    {
        Tags {"RenderType"="Opaque"}
        LOD 100

        Pass
        {
            CGPROGRAM
            #pragma vertex vert
            #pragma fragment frag
            #pragma multi_compile_fog
            #include "UnityCG.cginc"

            struct appdata
            {
                float4 vertex : POSITION;
                float2 uv : TEXCOORD0;
            };

            struct v2f
            {
                float2 uv : TEXCOORD0;
                UNITY_FOG_COORDS(1)
                float4 vertex : SV_POSITION;
            };

            sampler 2D _MainTex;
            float4 _MainTex;

            v2f vert (appdata v)
            {
                v2f o;
                o.vertex = UnityObjectToClipPos(v.vertex);
                o.uv = TRANSFORM_TEX(v.uv, _MainTex);
                UNITY_TRANSFER_FOG(o, o.vertex);
                return o;
            }

            fixed4 frag (v2f i) : SV_Target
            {
                fixed4 col = tex2D(_MainTex, i.uv);
                UNITY_APPLY_FOG(i.fogCoord, col);
                return col;
            }
            ENDCG
         }
     }
}
Most likely, looking at this code, you will not understand what is going on in its various blocks. However, to start our study, we will pay attention to its general structure.
Shader "InspectorPath/shaderName"
{
    Properties
    {
        // Here we store our shader parameters
    }

    SubShader
    {
        // Here we configure our shader pass
        Pass
        {
           CGPROGRAM
           // Here we put our Cg program - HLSL
           ENDCG
        }
    }

    Fallback "ExampleOfOtherShaderForFallback"
}
With the current example and its basic structure, it becomes a bit clearer. The shader starts with a path in the Unity editor inspector (InspectorPath) and a name (shaderName), then properties (e.g.
textures, vectors, colors, etc.), then SubShader and at the end an optional Fallback parameter to support different variants.
This way we already understand what, where and why to start writing.
Working with ShaderLab
Most of our shaders written in code start by declaring the shader and its path in the Unity inspector, as well as its name. Both properties, such as SubShader and Fallback, are written inside the "Shader" field in the ShaderLab declarative language.
Shader "OurPath/shaderName"
{
    // Our Shader Program here
}
Both the path and the shader name can be changed as needed within a project.
Shader properties correspond to a list of parameters that can be manipulated from within the Unity inspector. There are eight different properties, both in terms of value and usefulness. We use these properties relative to the shader we want to create or modify, either dynamically or in rantime. The syntax for declaring a property is as follows:
PropertyName ("display name", type) = defaultValue.
Where "PropertyName" stands for the property name (e.g. _MainTex), "display name" sets the name of the property in the Unity inspector (e.g. Texture), "type" indicates its type (e.g. Color, Vector, 2D, etc.) and finally "defaultValue" is the default value assigned to the property (e.g. if the property is "Color", we can set it as white as follows (1, 1, 1, 1).
The second component of a shader is the Subshader. Each shader consists of at least one SubShader for perfect loading. When there is more than one SubShader, Unity will process each of them and select the most appropriate one according to hardware specifications, starting with the first and ending with the last one in the list (for example, to separate the shader for iOS and Android). When SubShader is not supported, Unity will try to use the Fallback component corresponding to the standard shader so that the hardware can continue its task without graphical errors.
Shader "OurPack/OurShader"
{
    Properties { … }
    SubShader
    {
        // Here we configure our shader
    }
}
Read more about parameters and subshapers here and here.
Blending
Blending is needed for the process of blending two pixels into one. Blending is supported in both Built-In and SRP.
Blending occurs in the step that combines the final color of a pixel with its depth. This stage, which occurs at the end of the rendering pipeline, after the fragment (pixel) shader stage, when executing the stencil buffer, z-buffer, and color mixing.
By default, this property is not written in the shader, as it is an optional feature and is mainly used when working with transparent objects, for example, when we need to draw a pixel with a low opacity pixel in front of another pixel (this is often used in UI).
We can incorporate mixing here:
Blend [SourceFactor] [DestinationFactor]
You can read more about blending here.
Z-Buffer and depth test
To understand both concepts, we must first learn how the Z-buffer (also known as Depth Buffer) and the depth test work.
Before we begin, we must consider that pixels have depth values. These values are stored in the Depth Buffer, which determines whether an object goes in front of or behind another object on the screen.
Depth testing, on the other hand, is a condition that determines whether a pixel is updated or not in the depth buffer.
As we already know, a pixel has an assigned value which is measured in RGB color and stored in the color buffer. The Z-buffer adds an additional value that measures the depth of the pixel in terms of distance from the camera, but only for those surfaces that are within its frontal area. This allows two pixels to be the same in color but different in depth.
The closer the object is to the camera, the smaller the Z-buffer value, and pixels with smaller buffer values overwrite pixels with larger values.
To understand the concept, suppose we have a camera and some primitives in our scene, and they are all located on the "Z" space axis.
The word "buffer" refers to the "memory space" where the data will be temporarily stored, so the Z-buffer refers to the depth values between the objects in our scene and the camera that are assigned to each pixel.
We can control the Depth test, thanks to the ZTest parameters in Unity.
Culling
This property, which is compatible with both Built-In RP and URP/HDRP, controls which of the polygon's faces will be removed when processing pixel depth.
What this means. Recall that a polygon object has inner edges and outer edges. By default, the outer edges are visible (CullBack);
However, we can activate the inner edges:
Cull Off - Both edges of the object are rendered;
Cull Back - By default, the back edges of the object are displayed;
Cull Front - The front edges of the object are rendered;
This command has three values, namely Back, Front and Off. The Back command is active by default, however, usually the line of code associated with culling is not visible in the shader for optimization purposes. If we want to change the parameters, we have to add the word "Cull" followed by the mode we want to use.
Shader "Culling/OurShader"
{
    Properties
    {
       [Enum(UnityEngine.Rendering.CullMode)]
       _Cull ("Cull", Float) = 0
    }
    SubShader
    {
        // Cull Front
        // Cull Off
        Cull [_Cull]
    }
}
We can also dynamically configure Culling parameters in the Unity inspector via the "UnityEngine.Rendering.CullMode" dependency, which is Enum and is passed as an argument to a function.
Using Cg / HLSL
In our shader we can find at least three variants of default directives. These are processor directives and are included in Cg or HLSL. Their function is to help our shader recognize and compile certain functions that otherwise cannot be recognized as such.
#pragma vertex vert - Allows a vertex shader stage called vert to be compiled into the GPU as a vertex shader;
#pragma fragment frag - The directive performs the same function as pragma vertex, with the difference that it allows a fragment shader stage called "frag" to be compiled as a fragment shader in the code.
#pragma multi_compile_fog - Unlike the previous directives, it has a dual function. First, multi_compile refers to a variant shader that allows us to generate variants with different functionality in our shader. Second, the word "_fog" includes the fog functionality from the Lighting window in Unity, meaning that if we go to the Environment tab / Other Setting, we can activate or deactivate the fog options of our shader.
The most important thing we can do with Cg / HLSL is to write direct processing functions for vertex and fragment shaders, to use variables of these languages and various coordinates like texture coordinates (TEXCOORD0).
#pragma vertex vert
#pragma fragment frag

v2f vert (appdata v)
{
   // Here we can work with Vertex Shader
}

fixed4 frag (v2f i) : SV_Target
{
    // Here we can work with Fragment Shader
}
You can read more about Cg / HLSL here.
Shader Graph
Shader Graph is a new solution for Unity that allows you to master your own solutions without knowledge of the shader language. Visual nodes are used to work with it (but nobody forbids combining them with the shader language). Shader Graph works with HDRP and URP.
So, is Shader Graph a good tool for shader development? Of course it is. And it can be handled not only by a graphics programmer, but also by a technical designer or artist.
However, today we are not going to talk about Shader Graph, but will devote a separate topic to it.
Let's summarize
We can talk about shaders for a long time, as well as the rendering process itself. Here I haven't touched upon the shaders of raytracing and Compute-Shading, I've covered shader languages superficially and described the processes only from the tip of the iceberg.
Graphics work are entire disciplines that you can find tons of comprehensive information about on the internet, such as:
Information on the HLSL language;
The Unity Shaders Bible Book, from which some of the material was taken, in English;
It would be interesting to hear about your experience with shaders and rendering within Unity, as well as to hear your opinion - which is better SRP or Built-In :-)
Thanks for your attention!